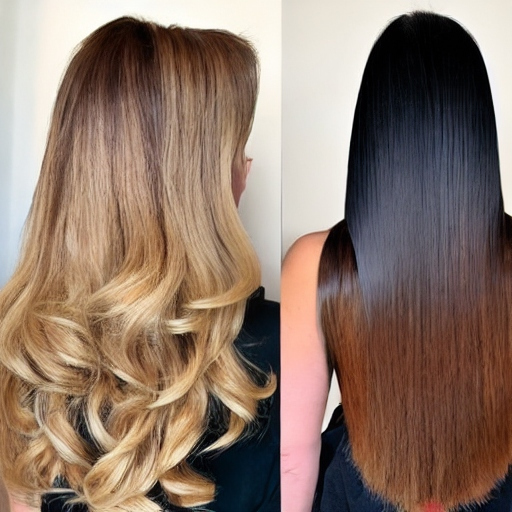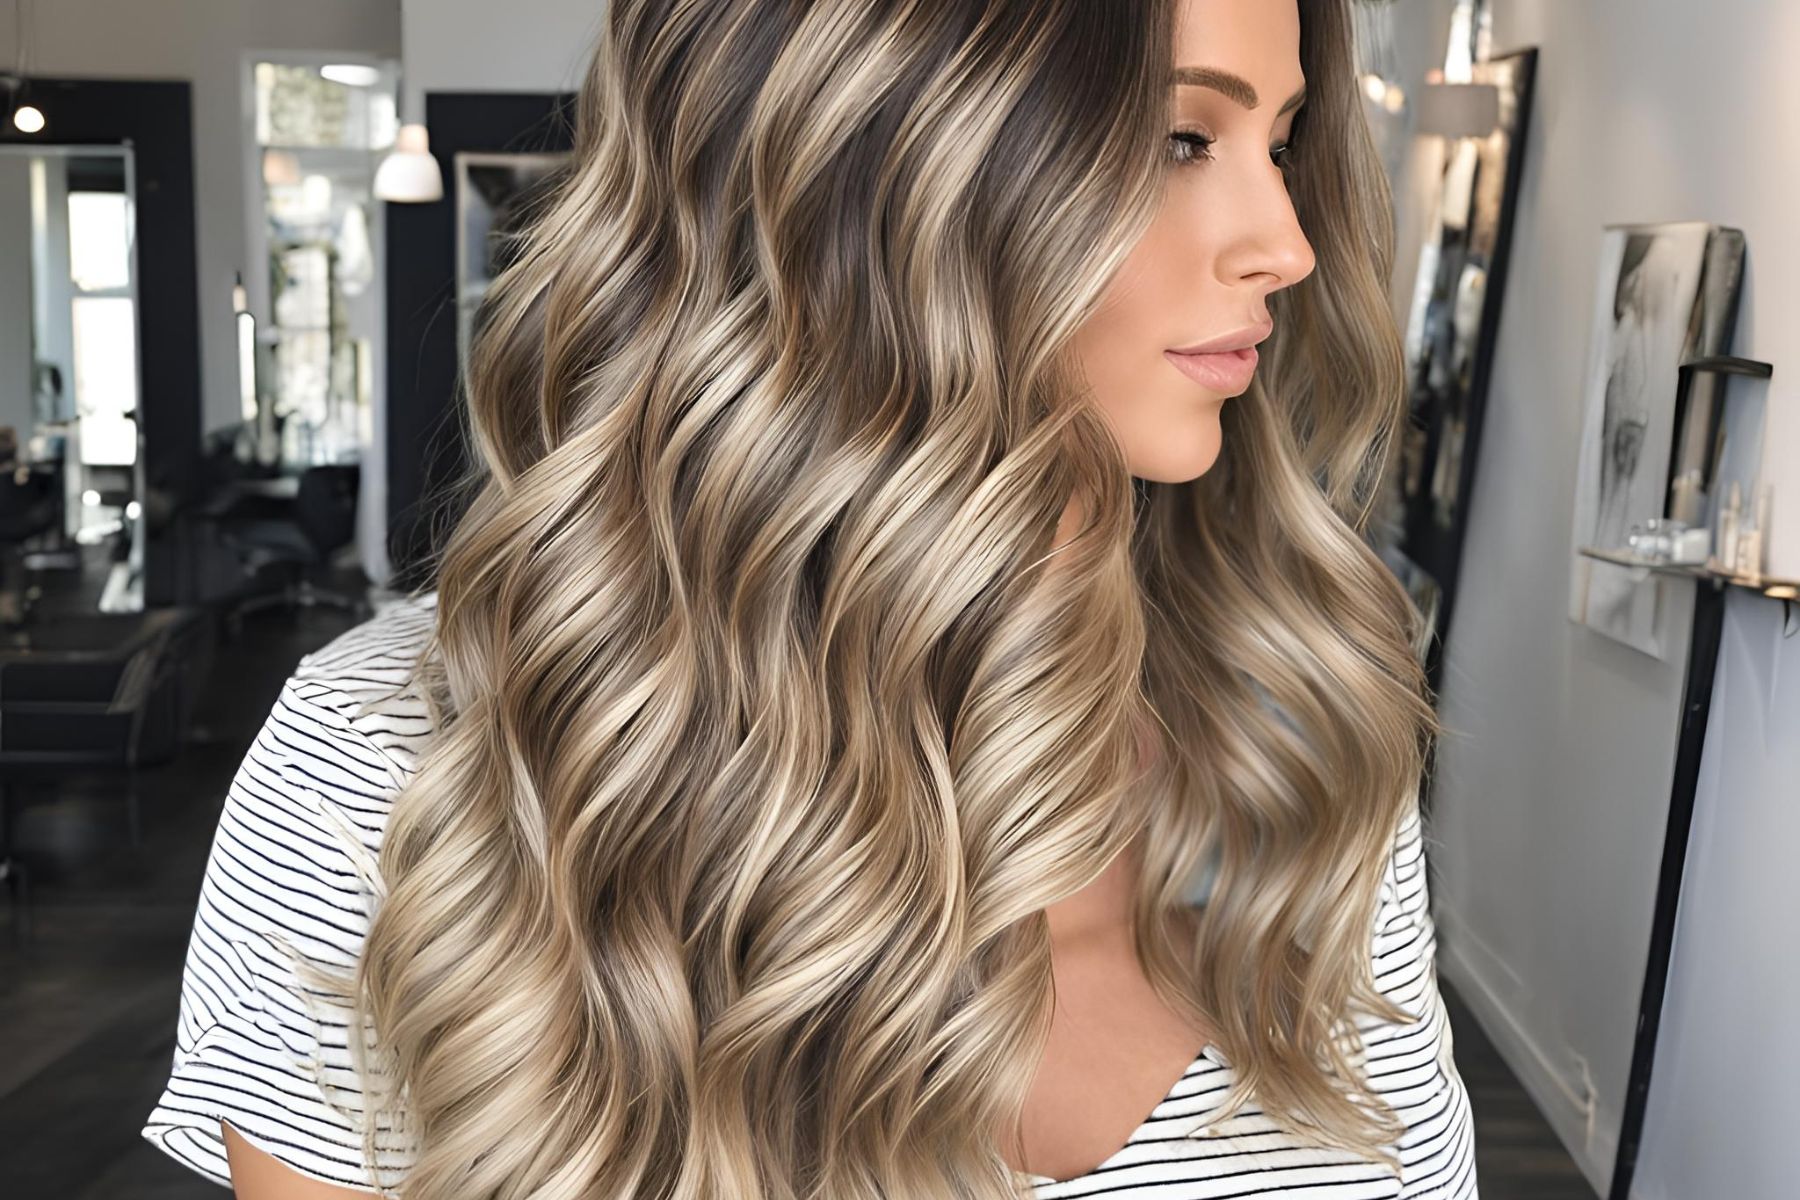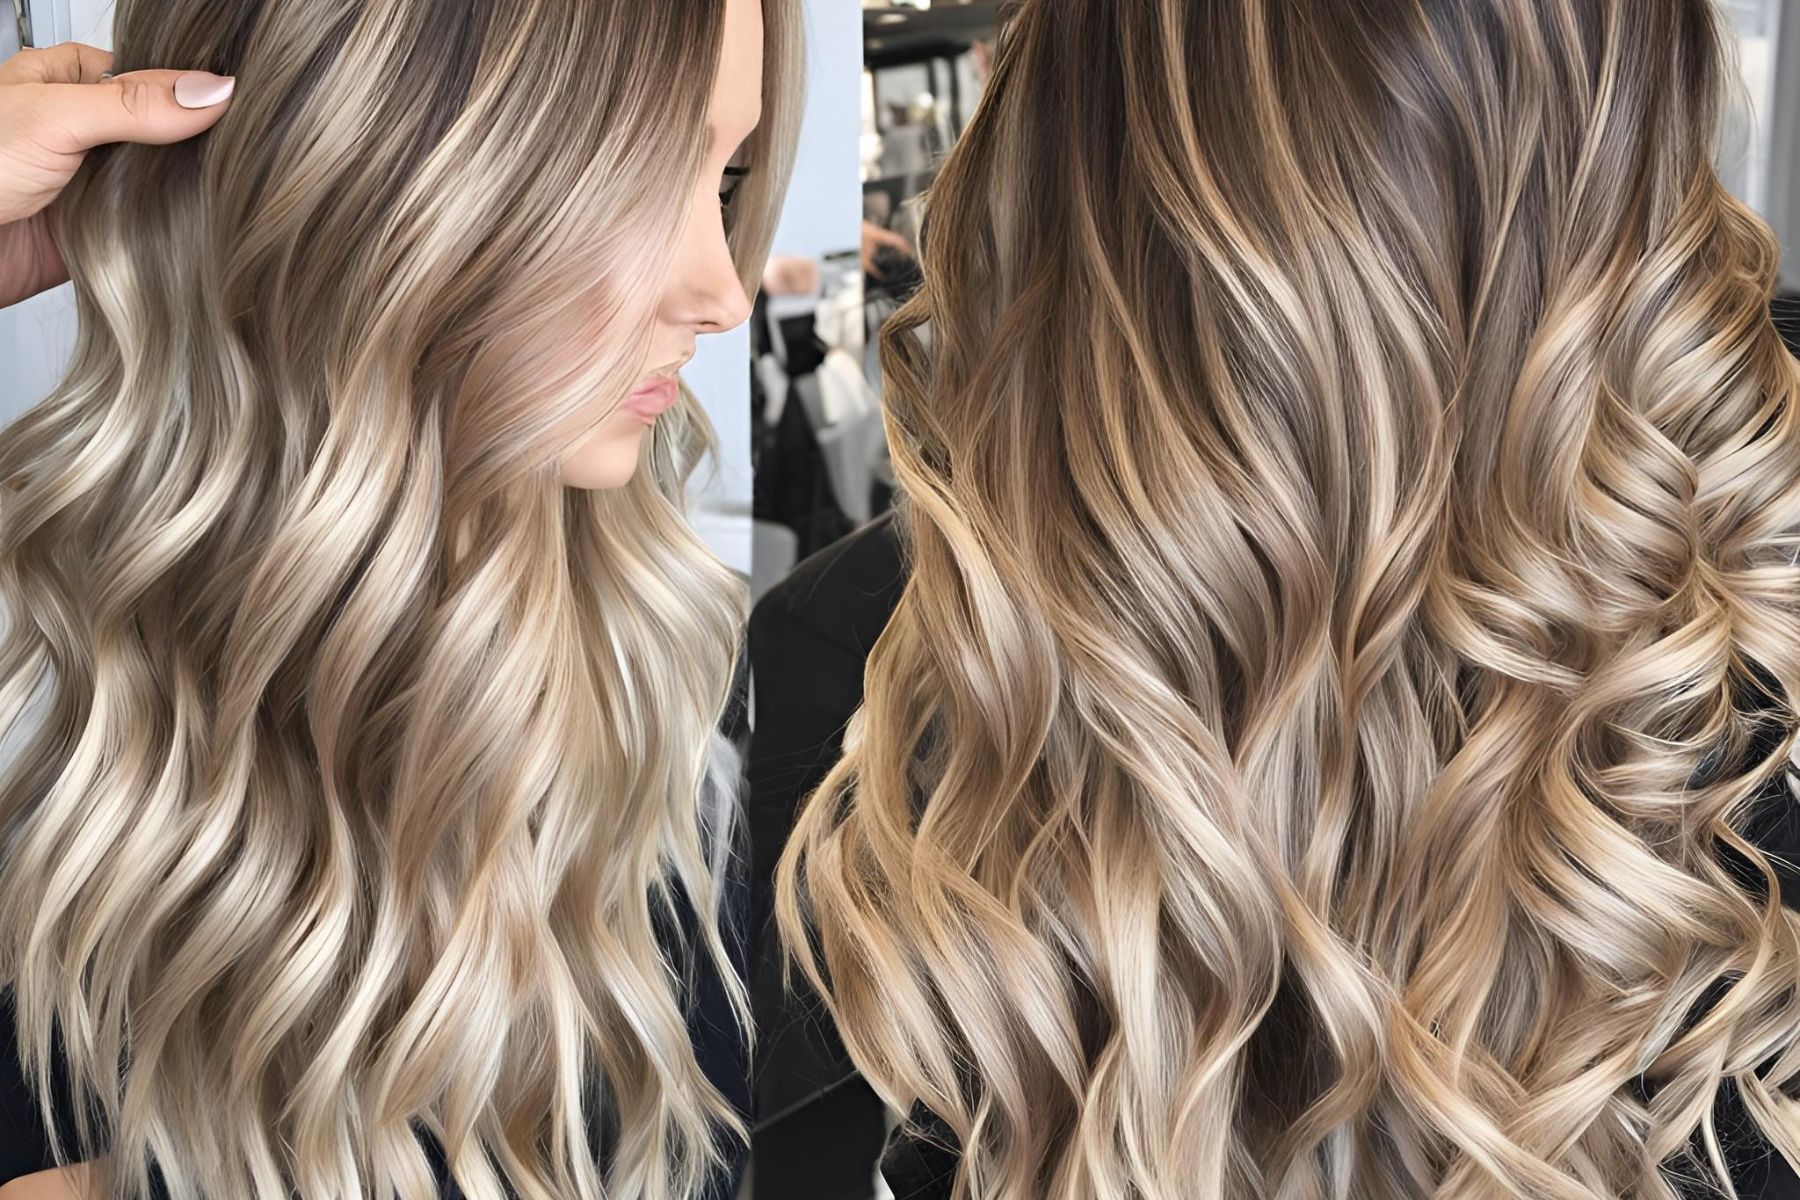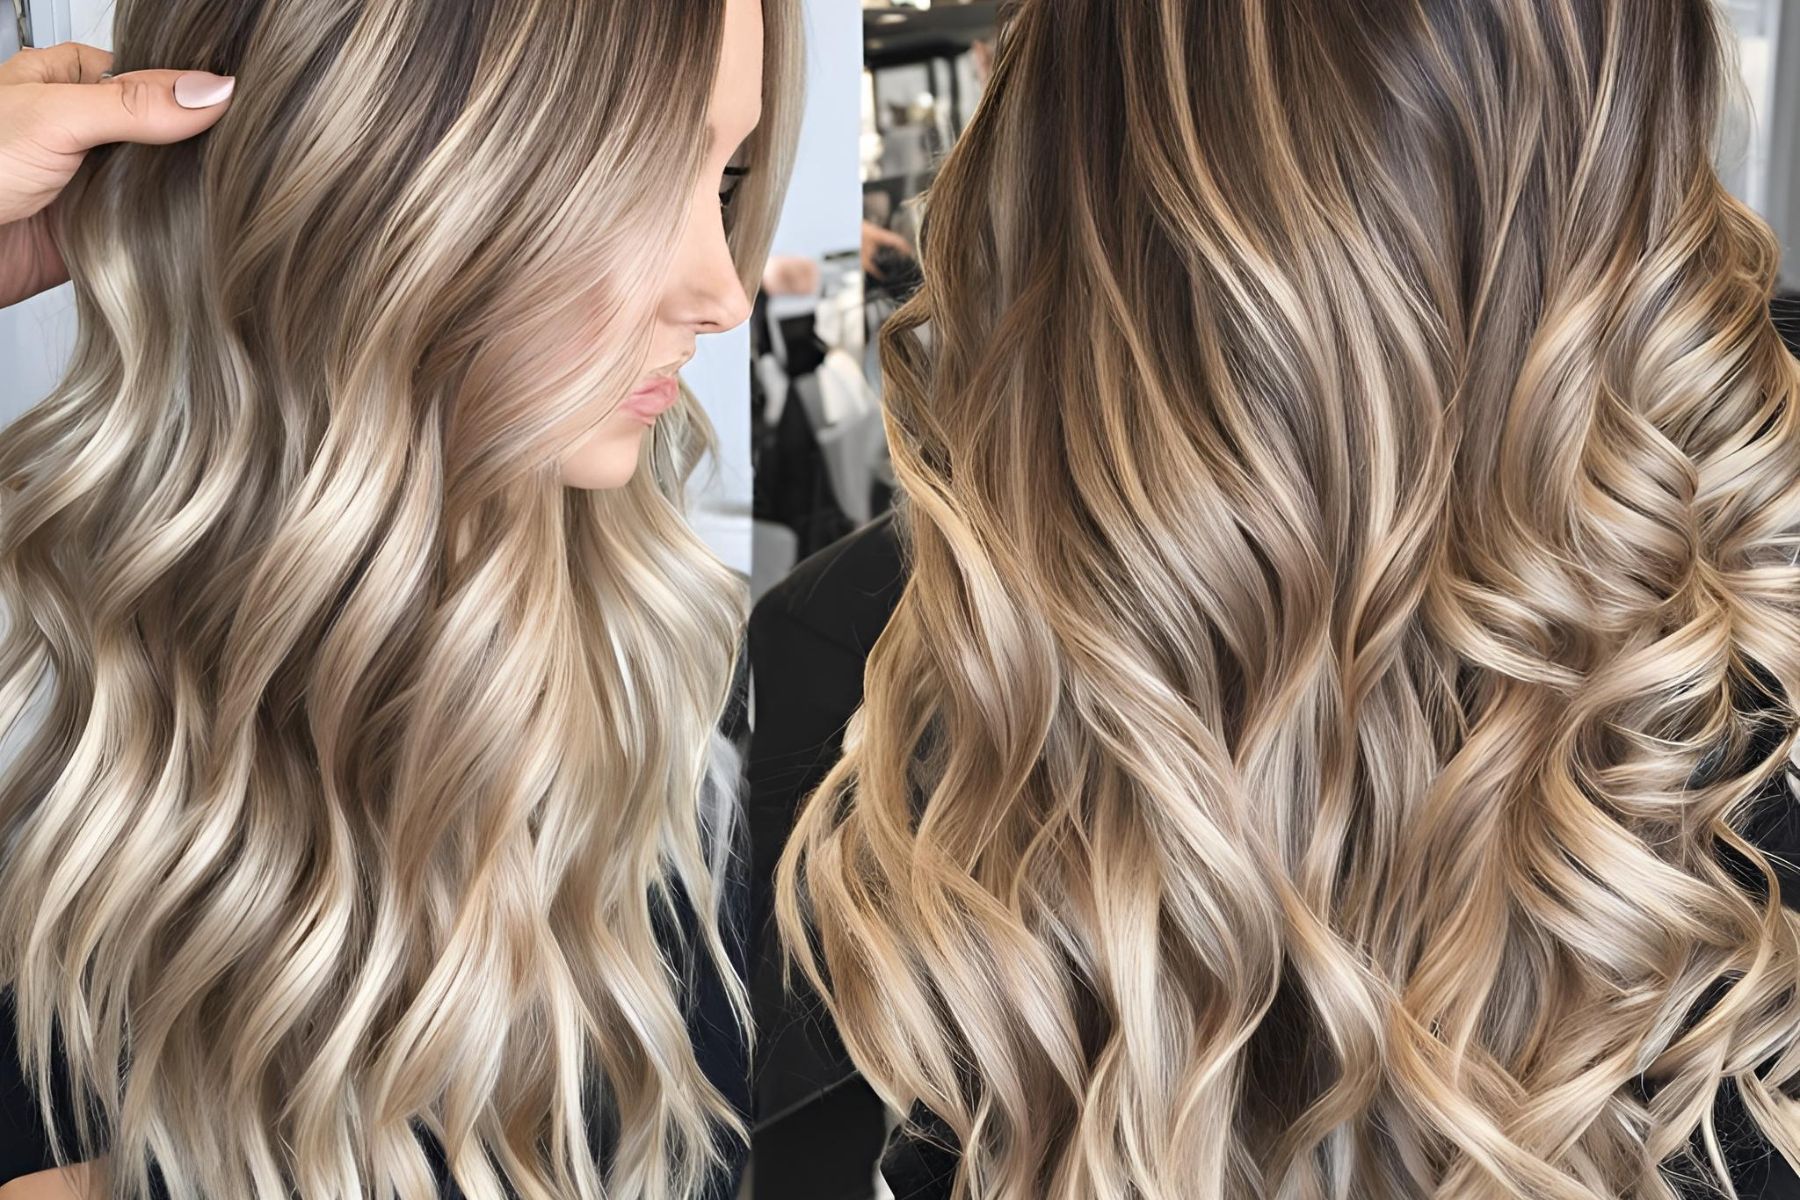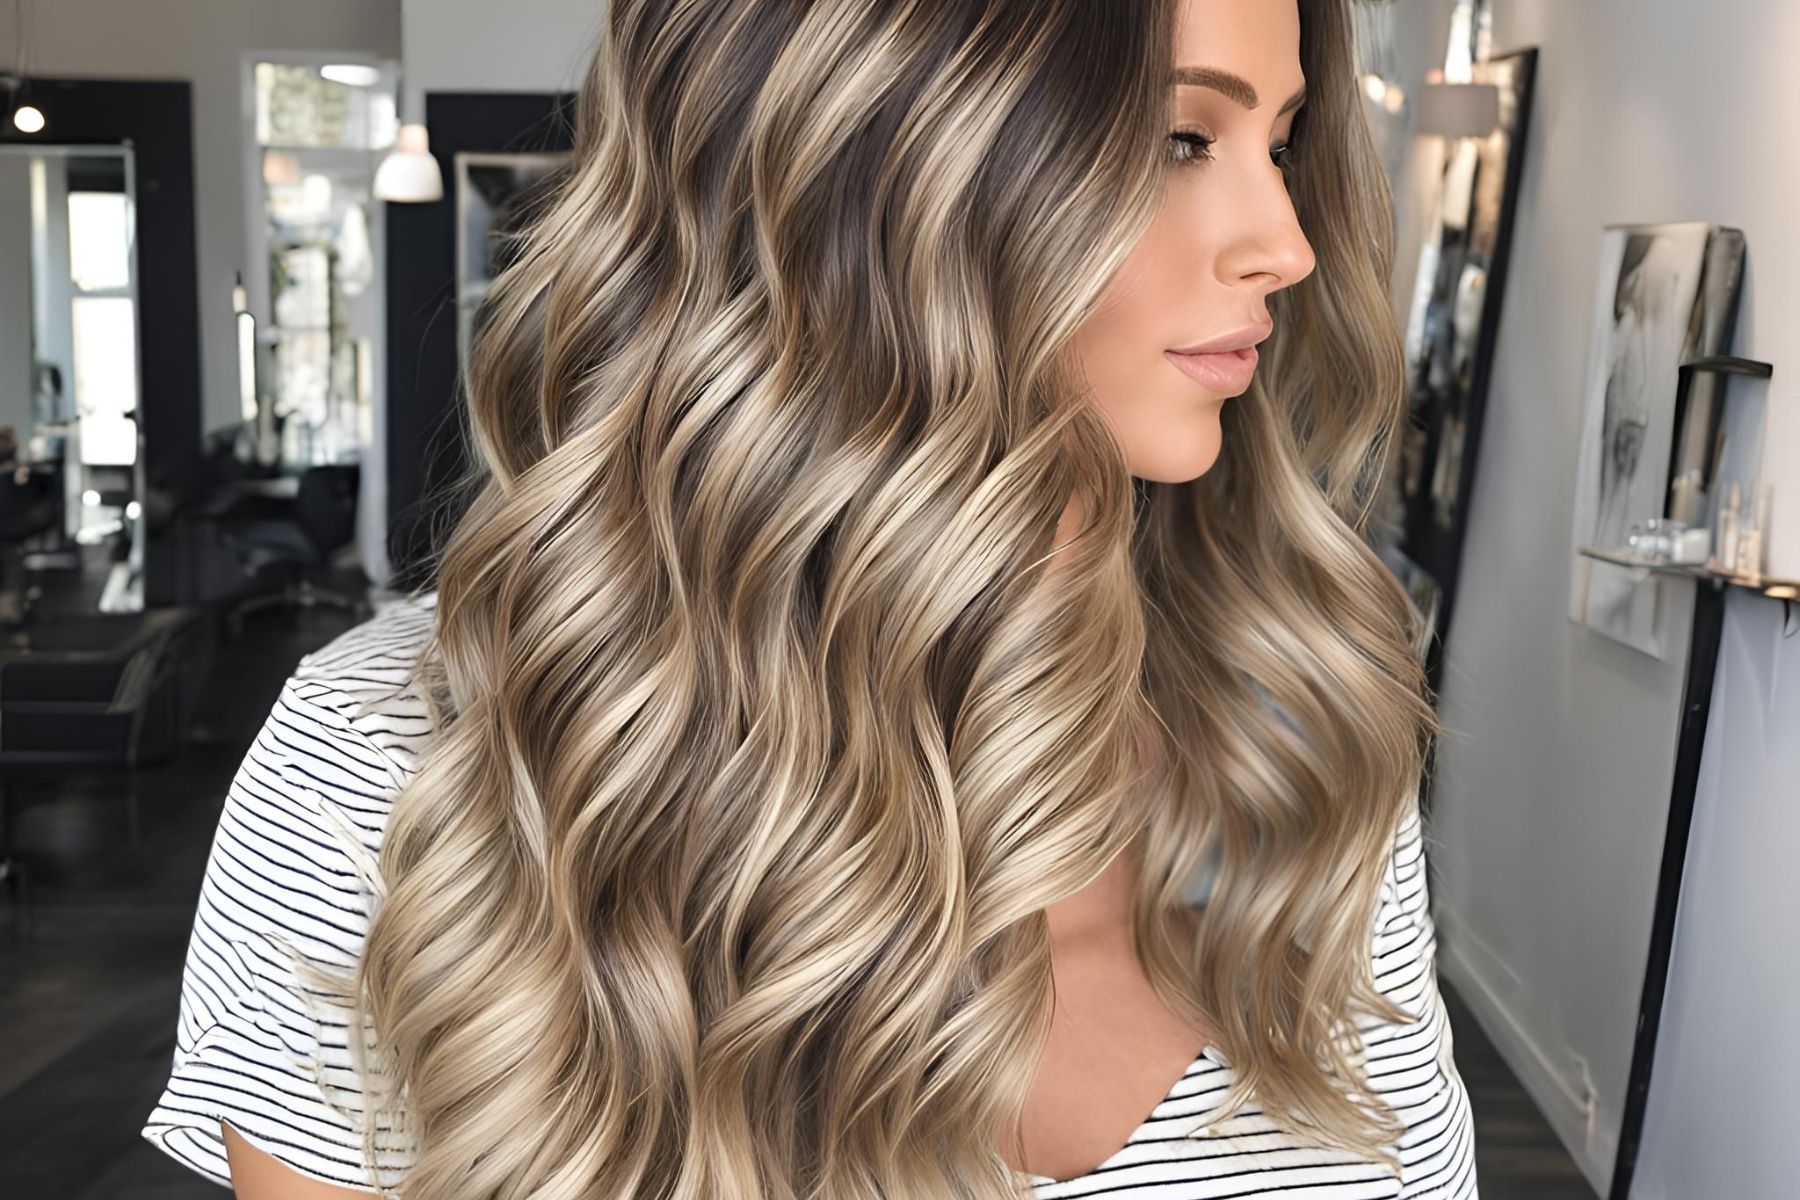
Tape-in hair extensions are a popular choice among women who want to add length, volume, and thickness to their hair. Unlike other types of hair extensions, tape-in extensions offer a seamless and natural look that blends in perfectly with your natural hair. In this guide, we’ll take you through the step-by-step process of installing tape-in hair extensions, as well as the benefits and maintenance tips to help you maintain your extensions for longer.
Benefits of Tape-In Hair Extensions
Tape-in hair extensions offer a range of benefits, including:
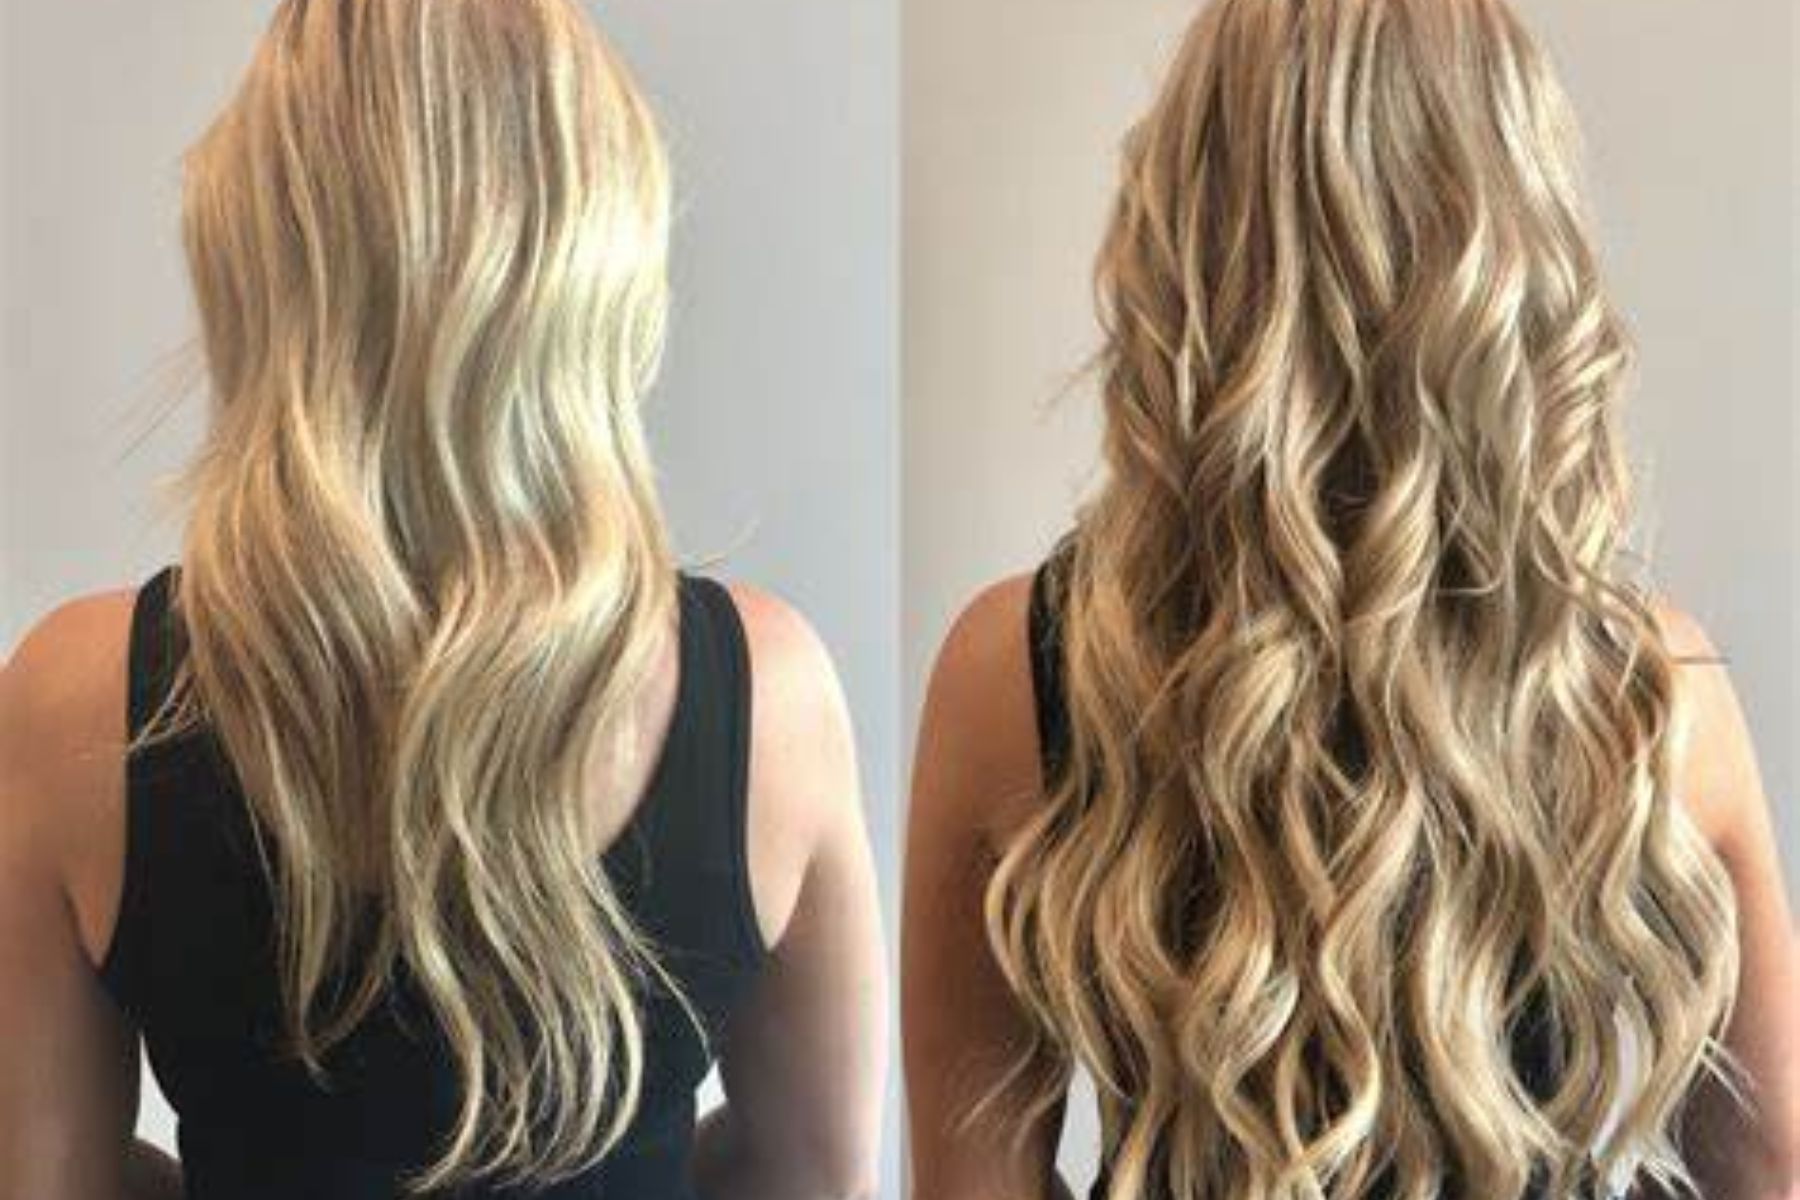
Natural Look: Tape-in extensions are designed to blend in seamlessly with your natural hair, giving you a natural and full look.
Quick and Easy Installation: Tape-in extensions are easy to install and can be done in less than an hour by a professional stylist.
Low Maintenance: Tape-in extensions require minimal maintenance and can last up to 8 weeks before needing to be re-taped.
Versatile Styling Options: You can style your tape-in extensions just like your natural hair, allowing for endless styling options.
Comfortable to Wear: Tape-in extensions are lightweight and comfortable to wear, making them perfect for everyday wear.
Step-by-Step Guide to Installing Tape-In Hair Extensions
Step 1: Preparation
Before installing tape-in hair extensions, you need to ensure that your hair is clean and dry. Avoid using any heavy styling products or oils that can interfere with the adhesive. Also, make sure that your hair is free from any tangles or knots.
Step 2: Sectioning
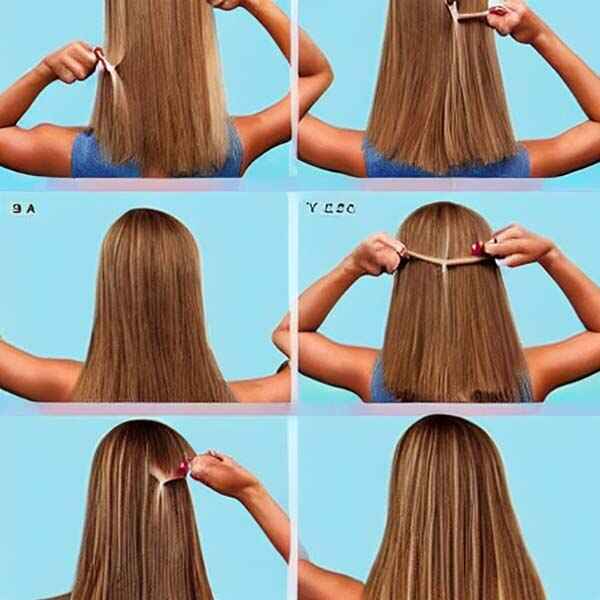
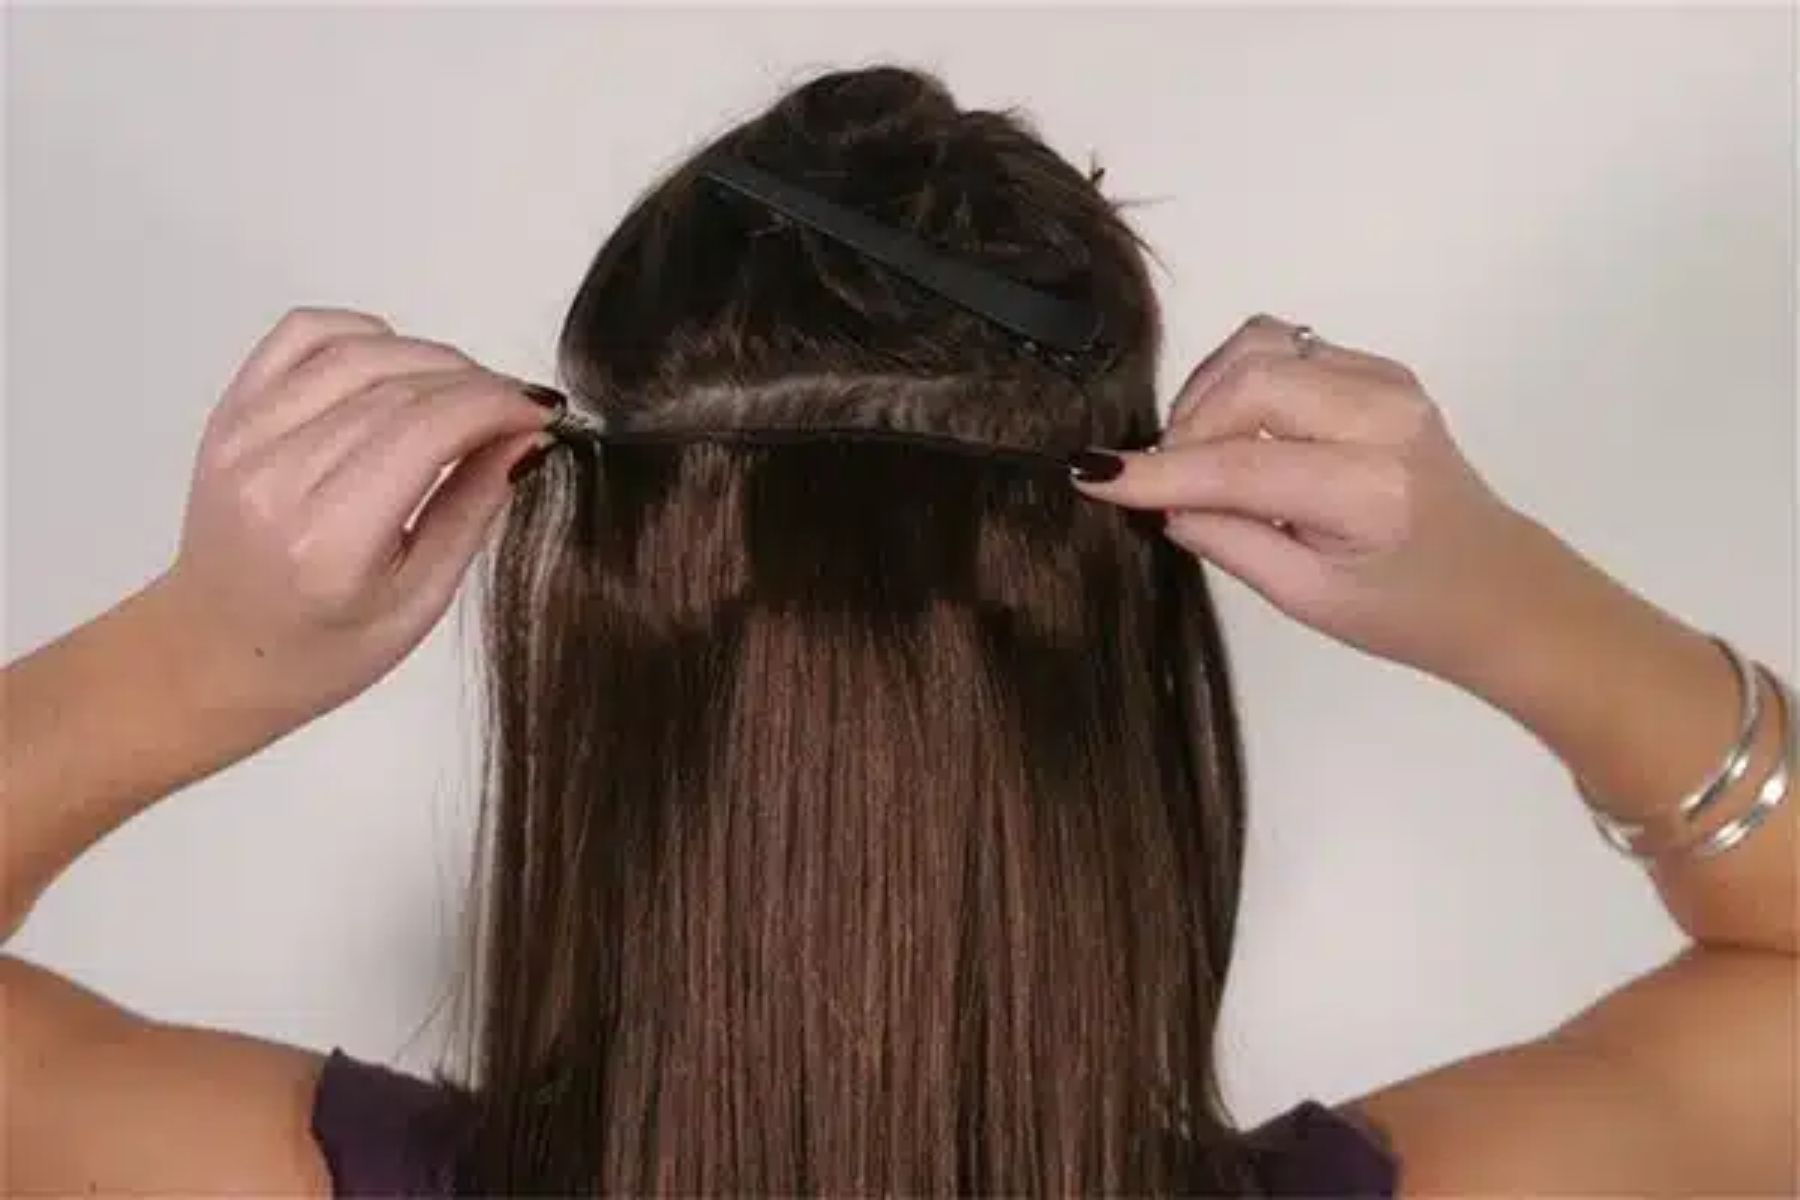
Divide your hair into sections using a comb, starting at the nape of your neck and working your way up. Clip each section of hair up and out of the way, leaving a thin layer of hair at the bottom.
Step 3: Applying the Extensions
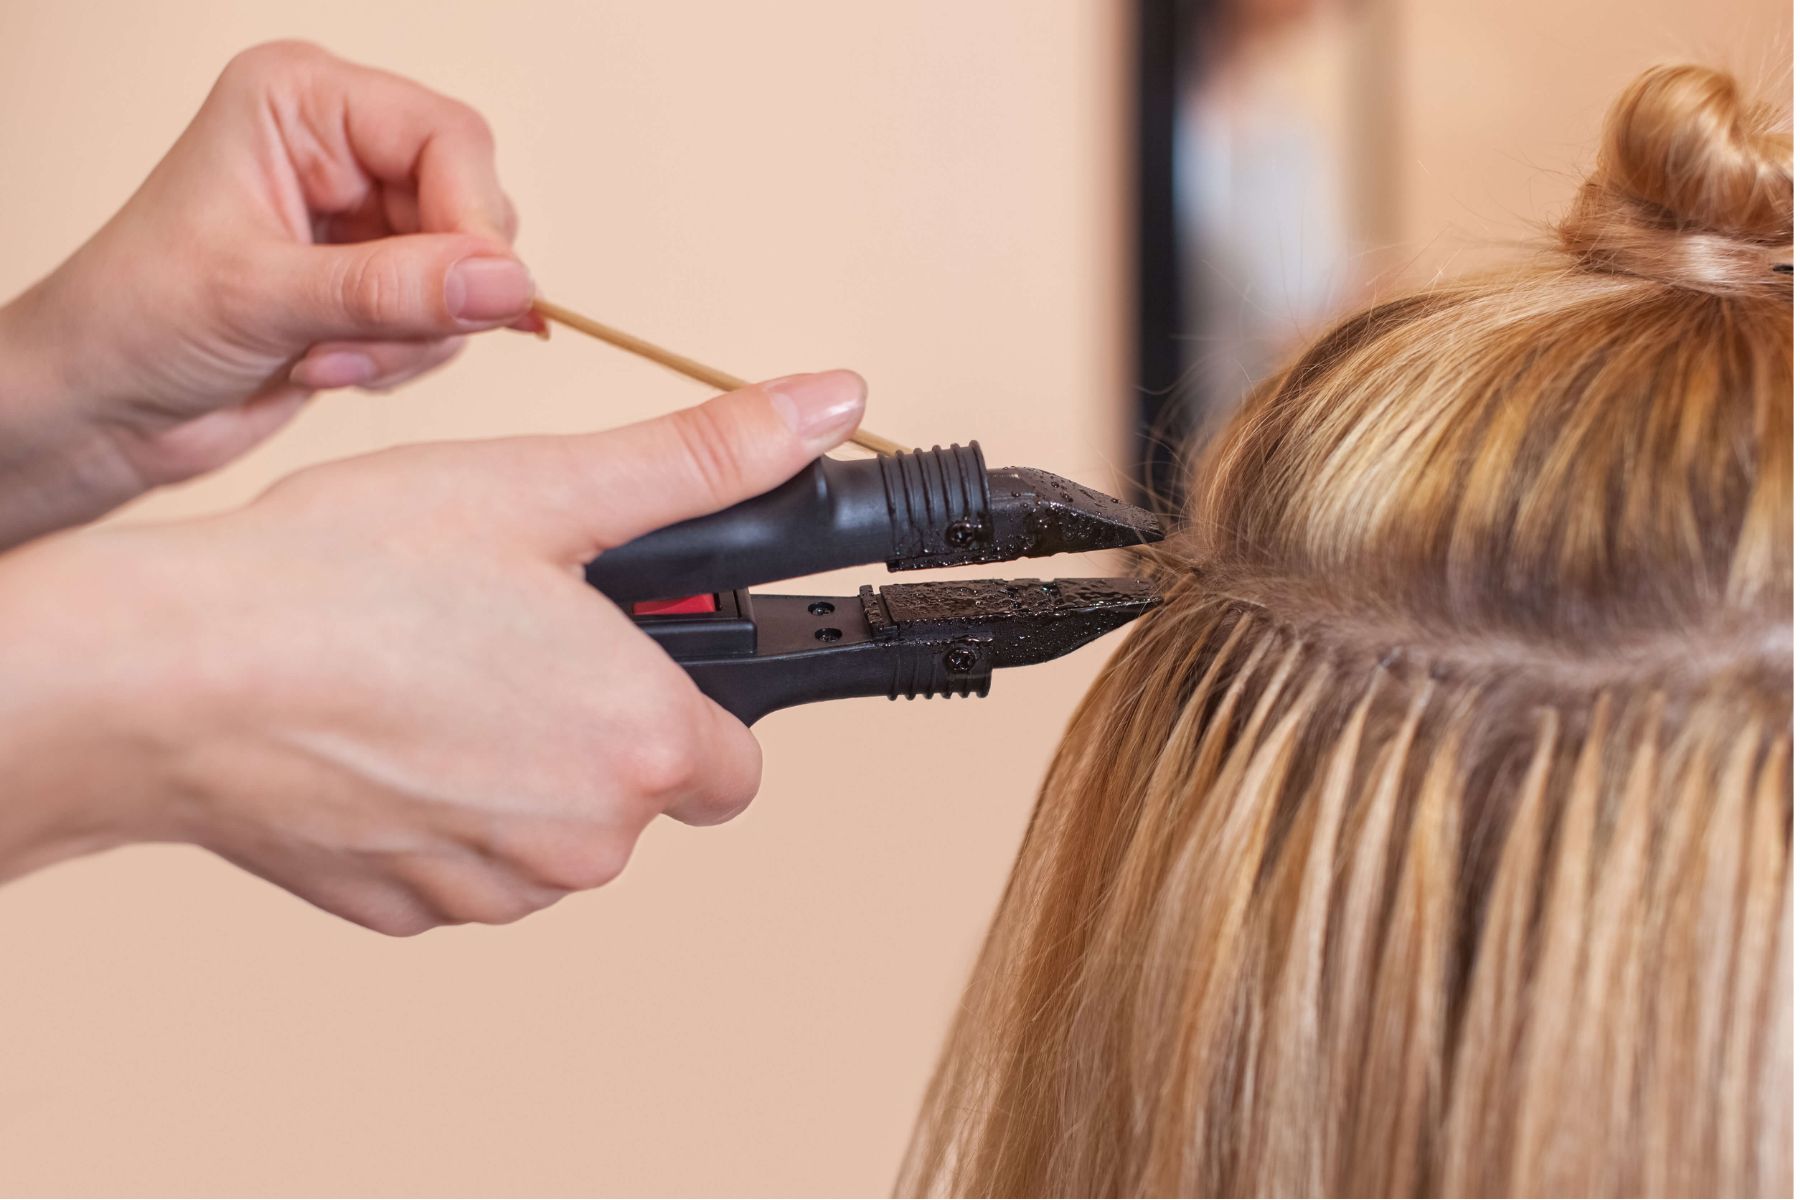
Peel off the protective tape from the top of the tape-in extension. Place the extension underneath the layer of hair at the bottom, about 1 cm away from your scalp. Press down firmly to secure the extension in place. Repeat the process for all the sections of hair, leaving a gap of about 2 cm between each extension.
Step 4: Trimming and Blending
Once all the extensions are in place, use a sharp pair of scissors to trim the ends of your extensions to blend in with your natural hair. This will give a seamless and natural look.
Step 5: Styling
Now that your tape-in extensions are in place, you can style them just like your natural hair. You can curl, straighten, or blow-dry your extensions as desired.
Maintenance Tips for Tape-In Hair Extensions
Avoid using heavy styling products or oils, as they can interfere with the adhesive.
Brush your extensions regularly to avoid tangling or matting.
Avoid using heat tools on your extensions too often, as this can cause damage to the hair.
Use a sulfate-free shampoo and conditioner to keep your extensions clean and healthy.
Have your extensions re-taped every 6-8 weeks to ensure they remain secure and in good condition.
Conclusion
Tape-in hair extensions offer a natural and seamless look that blends in perfectly with your natural hair. With the right installation technique and maintenance, you can enjoy the benefits of long, voluminous hair without damaging your natural hair. Follow this step-by-step guide and maintenance tips to achieve a flawless and natural look with your tape-in hair extensions.
Related Blog


